- Who can: any member of your company. A Digital Worker as the assignee needs the “Assign Digital Workers” permission.
- Where: Tasks
- Time: ≈ 3 minutes
Before you start
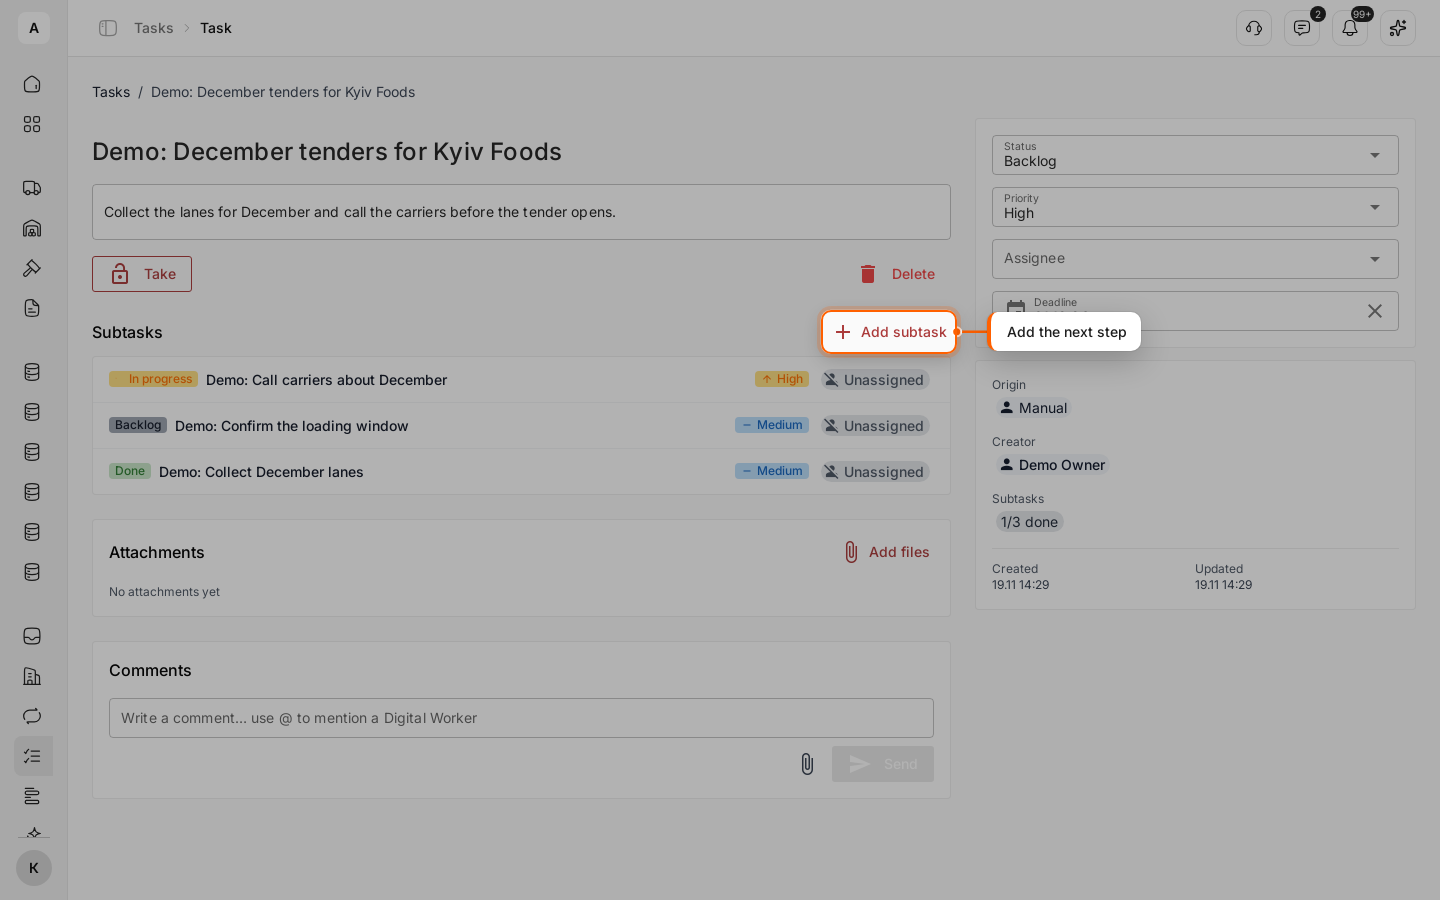
Decide who does the work and by when. In the example, a dispatcher prepares the December tenders for a demo customer: collect the lanes, call the carriers and confirm the loading window, all by December 1, 2026.
Steps
Start a task
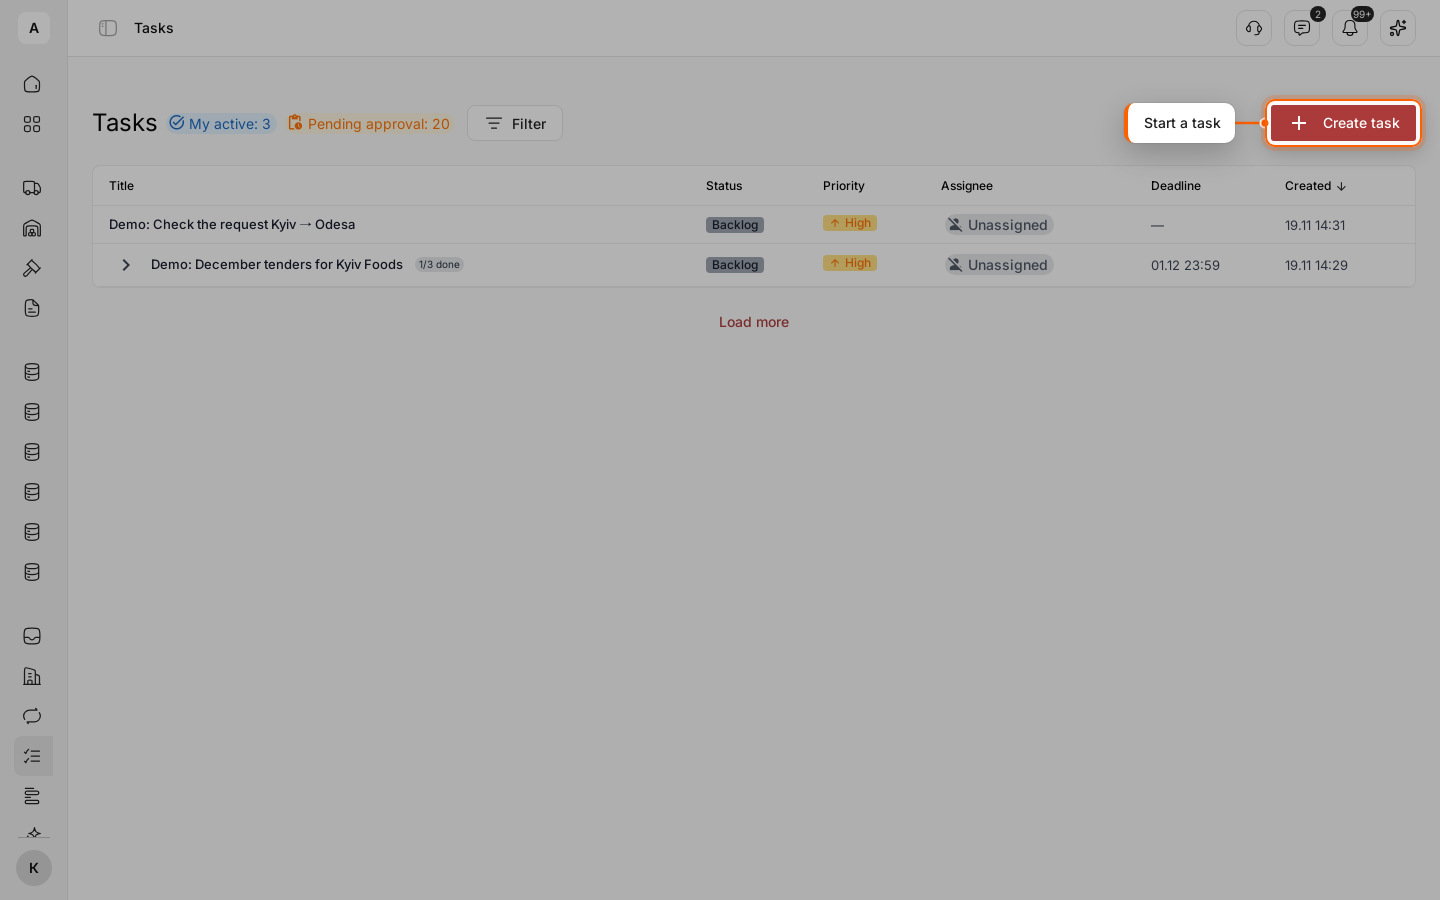
Click Tasks in the left menu, then Create task in the top right corner. The “Create task” dialog opens.
Fill in the task
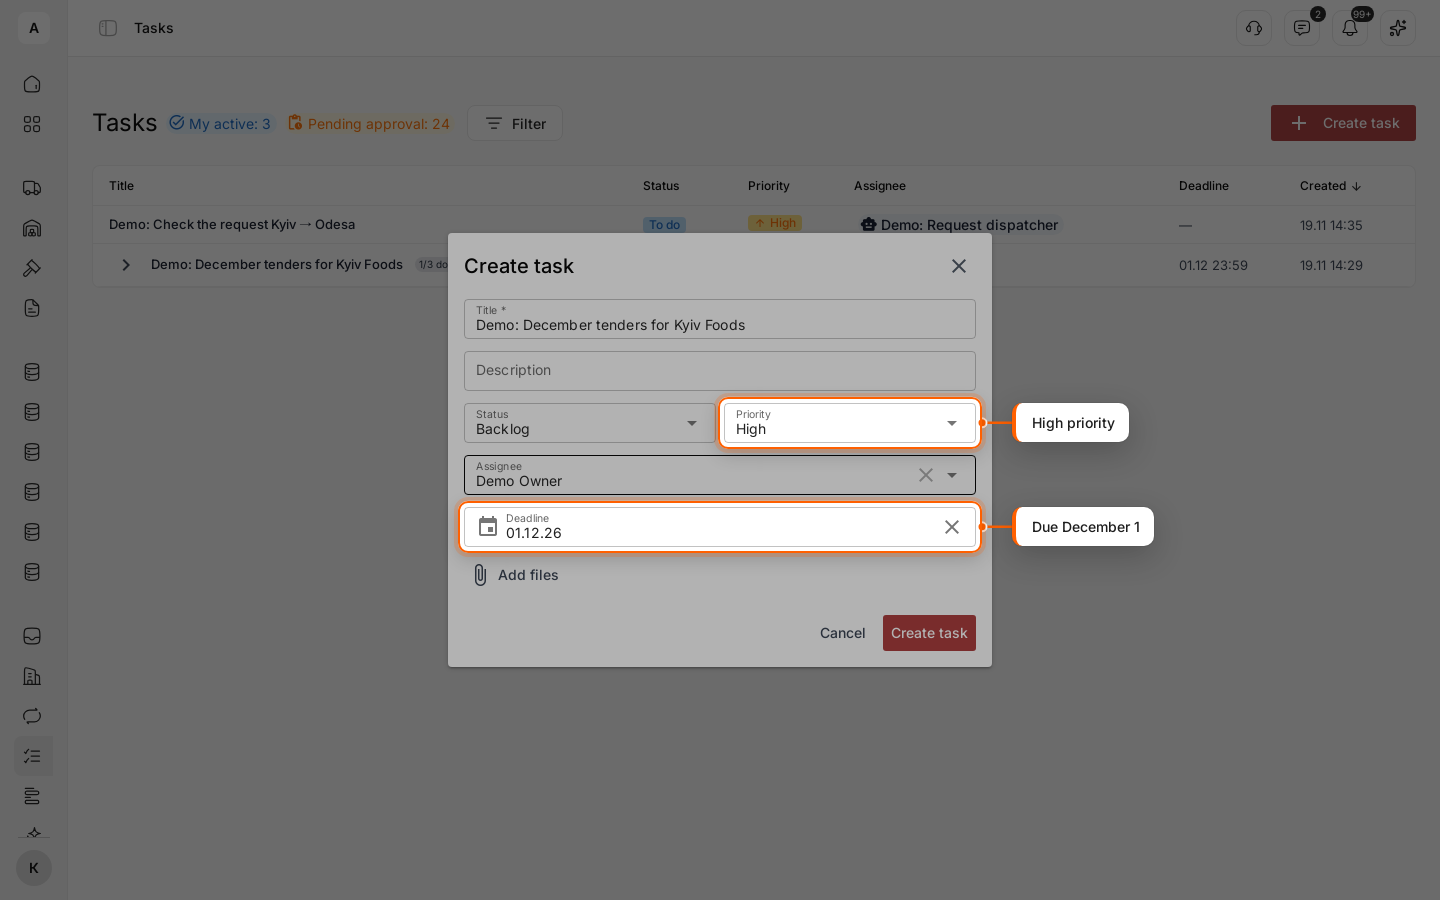
Enter the “Title”, the only required field: “Demo: December tenders for Kyiv Foods”. Add a “Description” if the work needs one. Set the “Priority” to “High”. In “Deadline”, pick December 1, 2026 in the calendar. Leave the “Status” on “Backlog” until the work can start.
Choose who does it
Pick the “Assignee”: a person or a Digital Worker. You are picked by default. Click the cross in the field to leave the task unassigned. For a Digital Worker, keep the status on “Backlog” and start it later. See Give a task to a Digital Worker.
Attach files and create the task
Click Add files to attach a rate sheet or a scan, then click Create task. The task appears at the top of the list.
Add subtasks
Click the task title to open it. Next to “Subtasks”, click Add subtask and create “Demo: Collect December lanes”, “Demo: Call carriers about December” and “Demo: Confirm the loading window”. Each subtask has its own status, priority, assignee and deadline. Click a subtask to open it.